We can use Moodle open source platform for e-learning.
How to install Moodle in our system and how to
make it is available on internet.
Software requirements for Moodle 3. 9. 1
- PHP - 7.3.20
- Xampp -7.3.20
- Maraia DB
Hardware Requirements
for Moodle 3. 9. 1
- Basic requirement
- i5 Processor
- 8 GB Ram
- 1 TB Harddisk
Steps
- Download Latest version of XAMPP (https://www.apachefriends.org/download.html)
- install Xammp(https://www.apachefriends.org/ru/index.html)
- Download Moodle 3.9.1
- copy Moodle folder and paste it in localhost
(htdocs folder)
- Load moodle from localhost
- Take Browser and type localhost with its port number,
by default port number (80). But port 80 already used, so
changed portnumber into 8012
- You can see used port numbers in XAMPP control Panel
-> Net stat

Before that create a database
How to create a moodle database?
- Type http://localhost:8012/phpmyadmin/ your admin panel
will open instead of 8012 use your port number or just try
http://localhost/phpmyadmin/
- Click on New button in phpmyadmin then create a
database named as "moodle"
- Click on Privileges and create a user moodleuser
After that again back to Moodle installation.
Type http://localhost:8012/moodle/


- Write your web address
- Write your moodle directory (path where you pasted moodle)
- Write Data directory

- select a language

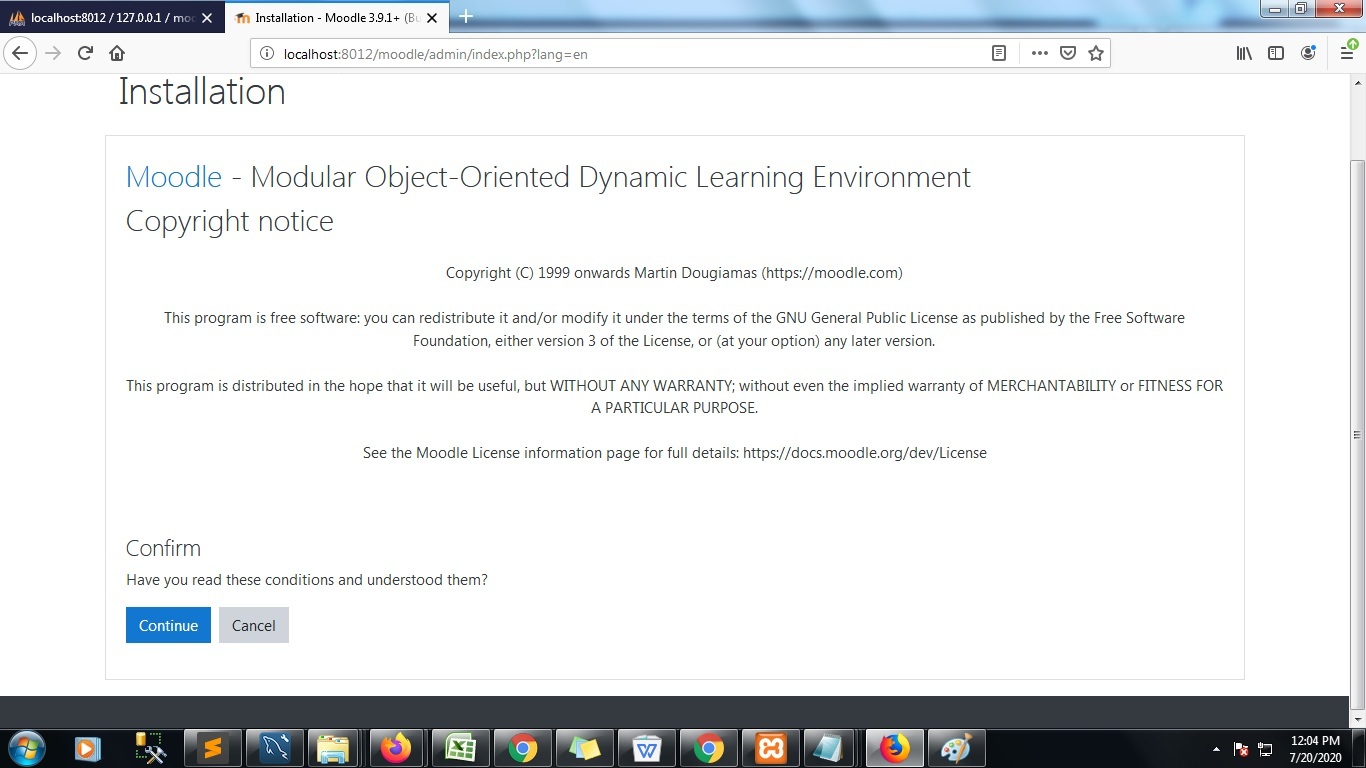
- Try to install.
- Sometimes you may get some errors
- Clear the errors
- Pass the check.
- Here some errors

First one, “change the database into
mariadb"
How to change database into mariadb?
Take config.php.
Let’s see
how to change config.php?
Take config.php (Go to localhost->htdocs then
open moodle folder you can see config.php file)

Change db type into
mariadb.
Again try to pass moodle installation
Go to browser type our
url (localhost:8012/moodle)
Then you can see first error has gone.
But I had other error.
Php extension check

How to solve php
intl extension error?

Take
php.ini file then add extension as php_intl.dll
[intl]
intl.default_locale=en_utf8
int.error_level=E_WARNING
*remove ";"
in front of intl and extension
Then restart Apache.
After that try to load
moodle
Type url on address bar

Click continue
You will receive installation
success messages.

After
general settings you will get dashboard.
Login with admin user id and password, Sometime Moodle page may
not redirect properly in that situation comment some line of codes in
moodle->admin-> index.php.

Then it will direct it properly.
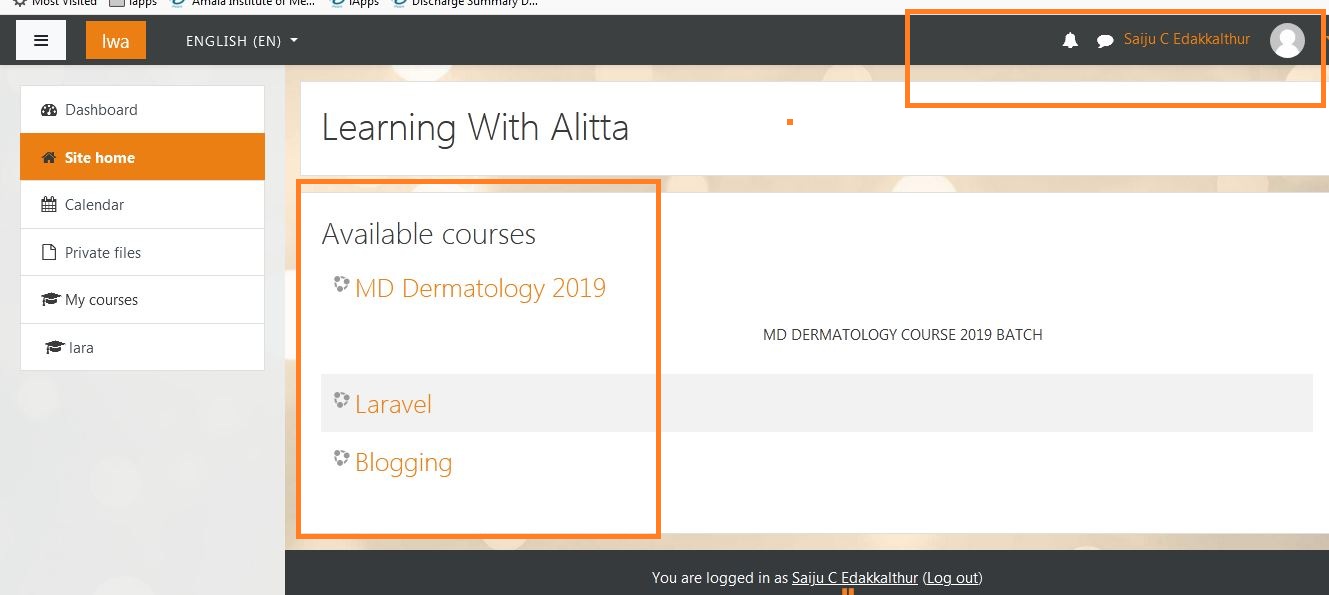
This is Admin Dashboard
 |
Admin DashboardE-Learning Platform in Medical
Education.
|

Click on logo and browse and upload logo

Course Categories in Moodle
How to create categories in Moodle ?


How to Edit a category on Moodle ?

can admin change the name of miscellaneous category
Miscellaneous category in Moodle

If you want to hide miscellaneous you can do


how many number of sub-categories can we create in course category?


how to add users in moodle?


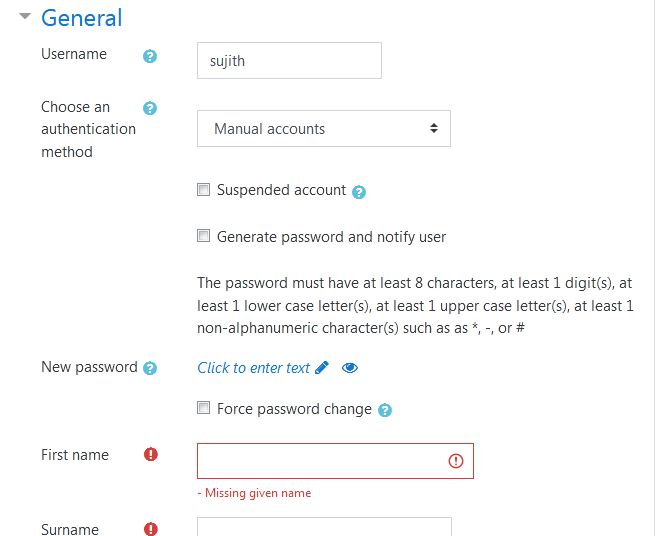

Force Password Change on Moodle


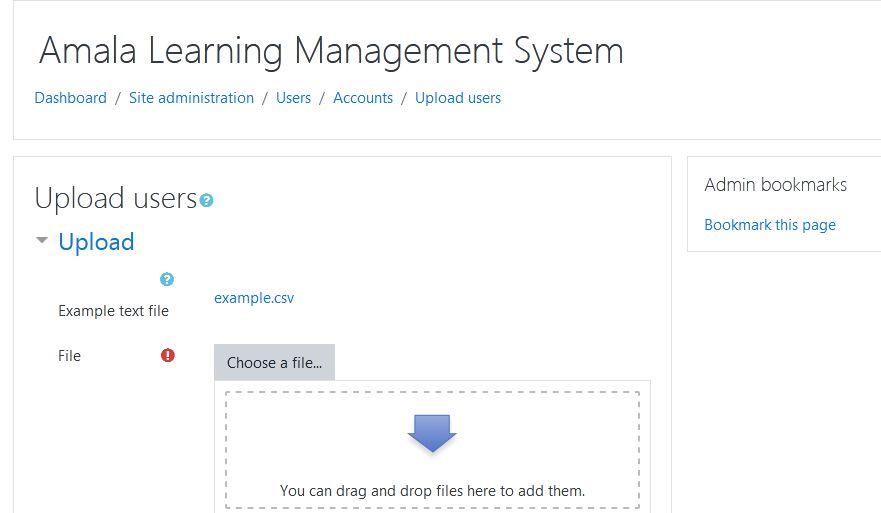
Moodle upload users csv file format


Moodle bulk user upload

Bulk User Actions on Moodle


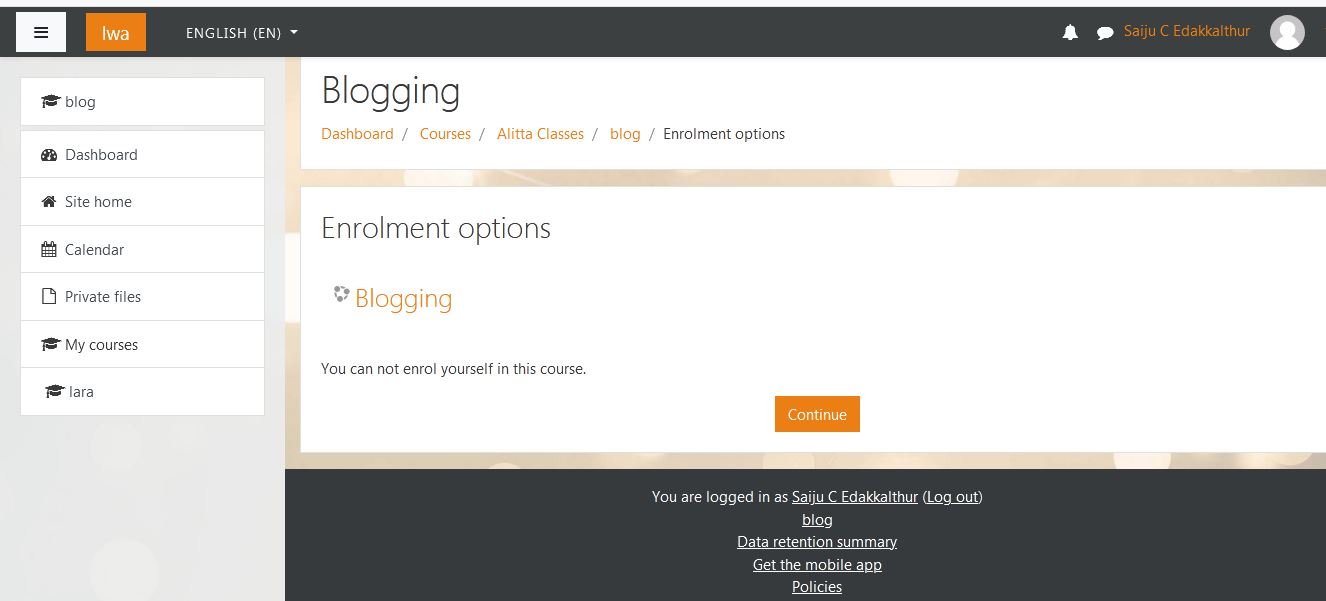
How to add other Teachers to your Moodle course - Moodle


