How to create new users
please go to the site admin
Click on users and add new users
 |
| Add caption |
Users List
In users list we can see their last access.It is very useful if the student whether downloaded the assignment actually.
Now we have users. Next we have to make a course
How to make a course?
To create courses go to site administration then go to Courses
click on Home then you can see available course click on it.
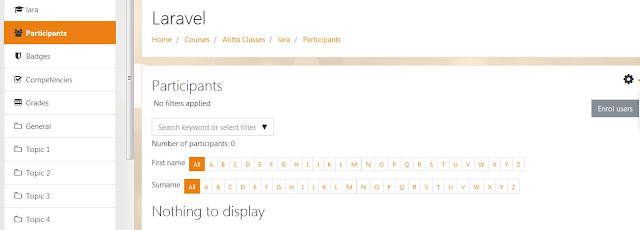
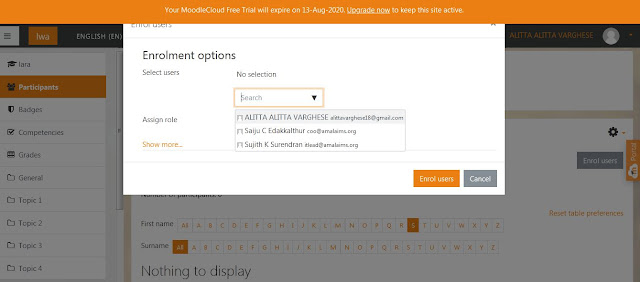
we can add participants to course by click on Enroll Users button .
After Enrollment we can view the users list who are enrolled in our course
After successful enrollment student can access the course assigned for them .Login with their use rid and password . In home page they can see available courses.
Here is one student login .
Click on site home you can see all courses under this category.
 |
Try to click on Blogging.
- Adding assignments to Moodle
Login as a teacher then click on Home
Turn Editing on .
Now you can see an edit button on all topics .
on right side you can see "Add an activity or course", Click on it
Click on radio button near to assignment then click Add
In this you add assignment name, description and can give submission dates.
can set word limit for online text
 |
Here you can choose accepted file types and selection .
If you want all file type you can click on " All file types" .
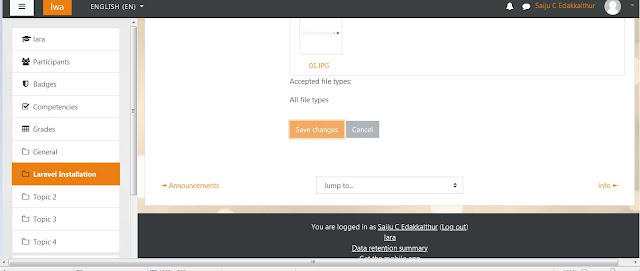
After setup you can save it and return to course or save and display .
Sometimes you will get error .
 |
Here error is "Cut-off date cannot be earlier than the due date".
Clear the error and save it.
Then We can see Grading Summary
Please go back to home you can see available courses and activity added under the course. In this you can add another resources too.
Click radio button near file then click on Add button then drag and drop the file from your folder.
Then save and return to course
You can see a file under this course
If we want edit click edit and save. If want to reveal file type and file sixe click on edit then Appearance show the size and file type.
after all edits you can set editing off
Now you can see activities under a course
Logout and return as student. Here Saiju is one of our student. under the course you can see activities
If students click on the file he can download it .
In assignment submission he can click Add Submission button . There is 2 way for assignment submission one is file submission and other is text submission
Here student uploaded his file
after submission the submission status can view by the student.
Now login as teacher. Click on Home page list available courses then click on course . Available activities can seen under course. Then Click on assignment.
Then click on view all submissions
You can see the list of students who are all submitted and who are all not submitted. Then go for grading and we can give comments for the student.
Comments
Grade
After grading students can view their grade and comment
Here he can see the comments .
in Grade tab he can view the grade.
Moodle LMS have many benefits


👍
ReplyDelete